Windshield, Dashboard, and Glass – Step by Step
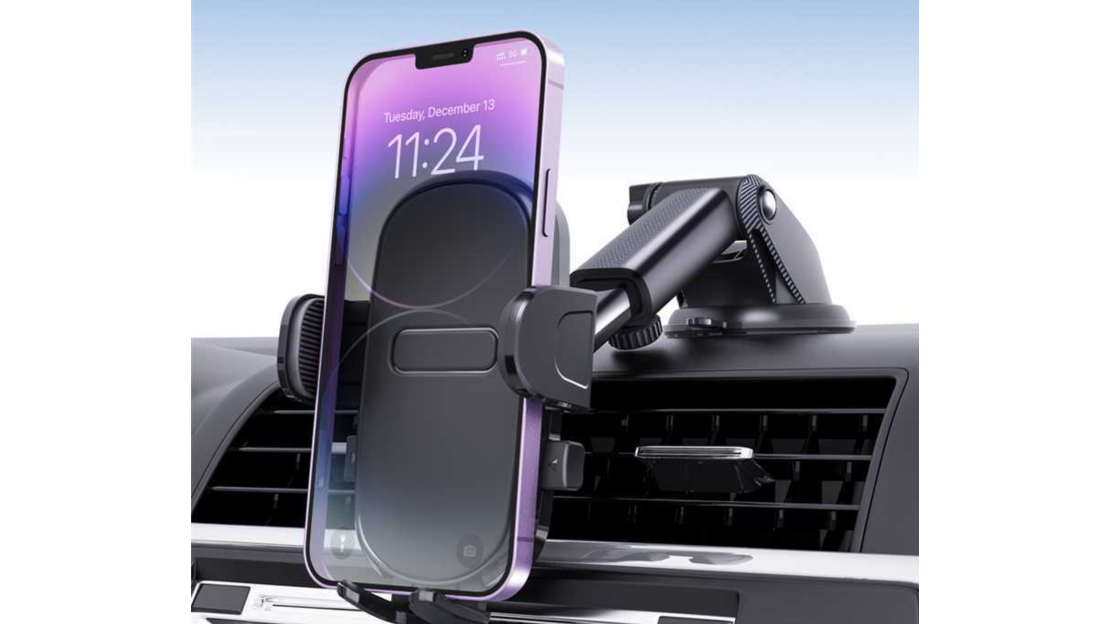
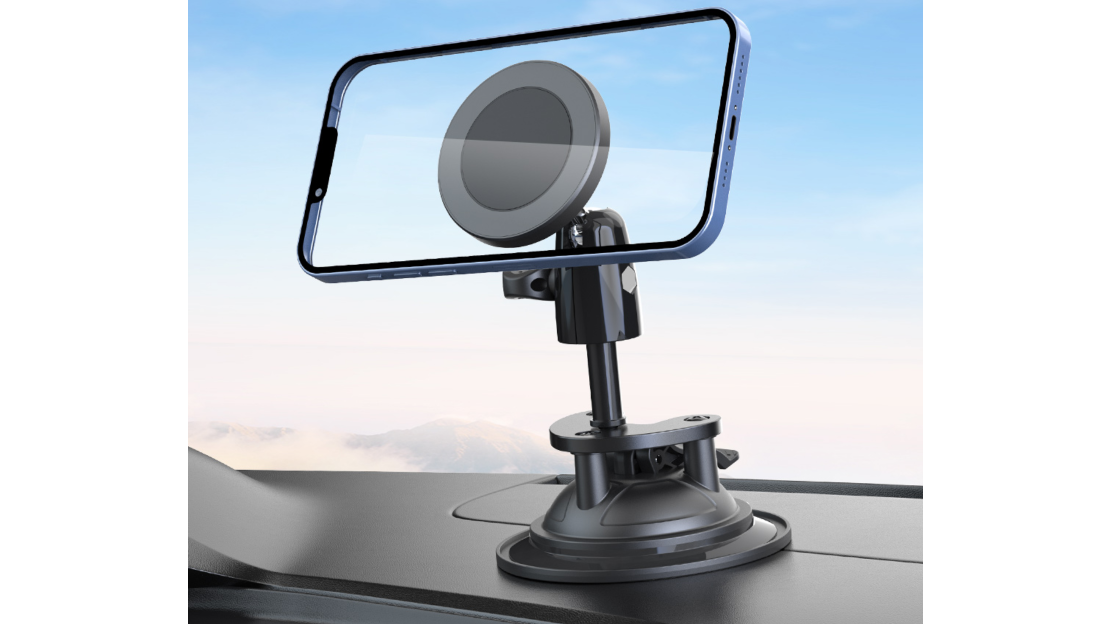
A suction cup car phone mount is one of the most versatile and widely used mounting solutions. It works on smooth, non-porous surfaces like windshields, side windows, and even some dashboards (with a smooth finish).
But to make it stay put – not fall off on a hot day or bumpy road – you need to install it correctly.
This guide covers everything:
1.Which surface to choose (windshield vs dashboard)
2.Step-by-step installation with photos
3.Why your suction cup keeps falling (and how to fix it)
4.Maintenance tips for long-term use
Let’s get started.
1. Where to Install a Suction Cup Car Mount – Legal & Practical Tips
Before you stick anything, consider safety and legality.
| Surface |
Pros |
Cons |
Legal? |
| Windshield (lower left corner) |
Best view, solid suction |
May block slight view in some cars |
✅ Legal in most states/countries (check local laws – usually lower passenger side or driver’s corner) |
| Windshield (center) |
Good for navigation |
Blocks more view, often illegal |
❌ Illegal in many places |
| Dashboard (smooth, flat area) |
Clean look, out of sun |
Must be perfectly smooth – textured dash won’t work |
✅ Always legal |
| Side window |
For rear-seat passengers |
Awkward angle for driver |
✅ Fine for passengers |
Our recommendation:
For navigation → lower left corner of windshield (driver side) or lower center passenger side.
For minimal obstruction → smooth dashboard area using an included adhesive disc (see section 4).
⚠️ Never mount the phone in front of or on top of an airbag.
2. What You’ll Need
Most suction cup mounts come with everything required, but check your box:
1.Suction cup base (with lever or twist lock)
2.Arm + phone cradle (may be pre-attached)
3.Cleaning alcohol wipe (if not included, use a damp microfiber cloth)
4.(Optional) Adhesive dashboard disc – for textured dashboards
Pro tip: If your mount has a gel0type sticky pad (not a traditional rubber cup), do not peel the protective film until you are 100% sure of the position – these gel pads are very sticky but less forgiving to reposition.
3. Step-by-Step Installation (Windshield or Smooth Glass)
Step 1: Choose the exact spot
Sit in the driver’s seat.
Hold the mount where you plan to stick it.
Make sure it does not block your view of the road, mirrors, or windshield defroster vents.
Also avoid the black dotted/fritted area (the rough dots at the edge of glass) – suction cups won’t seal well there.
Step 2: Clean the surface thoroughly
Use the included alcohol wipe (or a clean cloth with glass cleaner).
Wipe the target area in a circle, then let it air dry for 10–15 seconds.
Do not touch the cleaned area – skin oil ruins adhesion.
Step 3: Prepare the suction cup
If your mount has a protective film on the rubber/gel pad, peel it off.
For traditional rubber cups: slightly moisten the cup with a drop of water or spit (yes, it works – moisture helps the seal). But don’t overdo it.
Step 4: Press and lock
Place the suction cup flat against the glass.
Push firmly toward the glass with your palm.
While pushing, flip the lever to the locked position (usually 90 degrees).
For twist-lock models: turn the knob clockwise until tight.
Step 5: Attach phone and adjust
Place your phone into the cradle or onto the magnetic head.
Adjust the ball joint to your preferred angle.
Tighten any lock nut if present.
Step 6: Test the hold
Give the mount a gentle but firm tug.
If it moves or pops off, repeat from Step 2.
Once stable, drive on a bumpy road (or shake the mount) to confirm.
✅ Pro tip: For best adhesion, wait 24 hours before using the mount with a heavy phone. The suction cup “settles” over time.
4. How to Install a Suction Cup Mount on a Textured Dashboard
Most dashboards are not smooth – they have a leather grain, dimples, or soft touch surface. A suction cup will fall off within hours.
Solution: Use the included adhesive dashboard disc (a smooth plastic or metal disc with 3M tape on the back).
Steps:
1.Clean the dashboard – Use alcohol wipe on the chosen area.
2.Peel the backing from the adhesive disc.
3.Press the disc firmly onto the dashboard for 30 seconds. Wait 1 hour for full bond.
4.Now attach the suction cup onto the smooth disc (follow the standard steps from Section 3).
💡 If your mount did not come with a disc, you can buy universal dashboard mounting discs separately. They are cheap and highly recommended for any dashboard mount.
5. Why Does My Suction Cup Mount Keep Falling? – Fixes
| Problem |
Likely Cause |
Solution |
| Falls off after 1-2 days |
Dust or oil on surface |
Clean again with alcohol. Do not use soap or Windex (leaves residue). |
| Falls off in hot sun |
Air expands inside cup |
Repress and lock when glass is cool. Use a higher-quality mount with silicone gel. |
| Won’t stick to dashboard |
Textured surface |
Install an adhesive dashboard disc (see section 4). |
| Lever won’t lock fully |
Debris under rubber |
Wash suction cup with warm water, dry completely, reinstall. |
| Cup is stiff / cracked |
Old rubber (over 2 years) |
Replace the suction cup – many mounts use standard sizes. |
6. Maintenance & Long-Term Use
To keep your suction cup mount reliable for years:
Re-seat every 2–3 months – Unlock, clean, and re-press. This prevents gradual air leakage.
Avoid extreme heat – If parking in direct sun for hours, remove the mount or use a windshield sun shade.
Wash the rubber cup occasionally – Use mild soap and water, then dry fully.
Replace the cup when stiff – A hard, non-flexible cup will not seal.
7. Frequently Asked Questions (FAQ)
Q: Can I use a suction cup mount on a windshield with a tint strip?
A: Yes, if the tint is smooth and fully adhered. However, repeated attachment may damage some aftermarket tints. Test on a small corner first.
Q: Will a suction cup mount leave a mark on my windshield or dashboard?
A: On clean glass – no permanent mark. On a dashboard disc – no. Directly on soft dashboard vinyl – a ring may appear after months, but often fades.
Q: My mount has a gel pad that washed off – can I buy a replacement?
A: Yes. Many manufacturers sell replacement gel pads or whole suction cups. Search “suction cup replacement [your mount brand]” or buy universal sizes (usually 60mm, 70mm, or 80mm).
Q: How much weight can a suction cup mount hold?
A: A good 7080mm suction cup can hold 1–2 lbs (500–900g) on glass. Heavy phones (iPhone Pro Max with case) are fine. Tablets may need a larger cup.
Q: Can I move the mount to another car easily?
A: Yes – simply unlock the lever and peel off. Clean the cup before re-installing on the next vehicle.
8. Summary – Quick Checklist for a Perfect Installation
Surface is clean, dry, and smooth
Mount position does not block view or airbags
Suction cup is locked with lever fully pressed
For dashboards: adhesive disc used
Phone cradle is adjusted to fit your phone
Mount does not move when shaken
9. Need a Bulk Order or OEM Suction Cup Mounts?
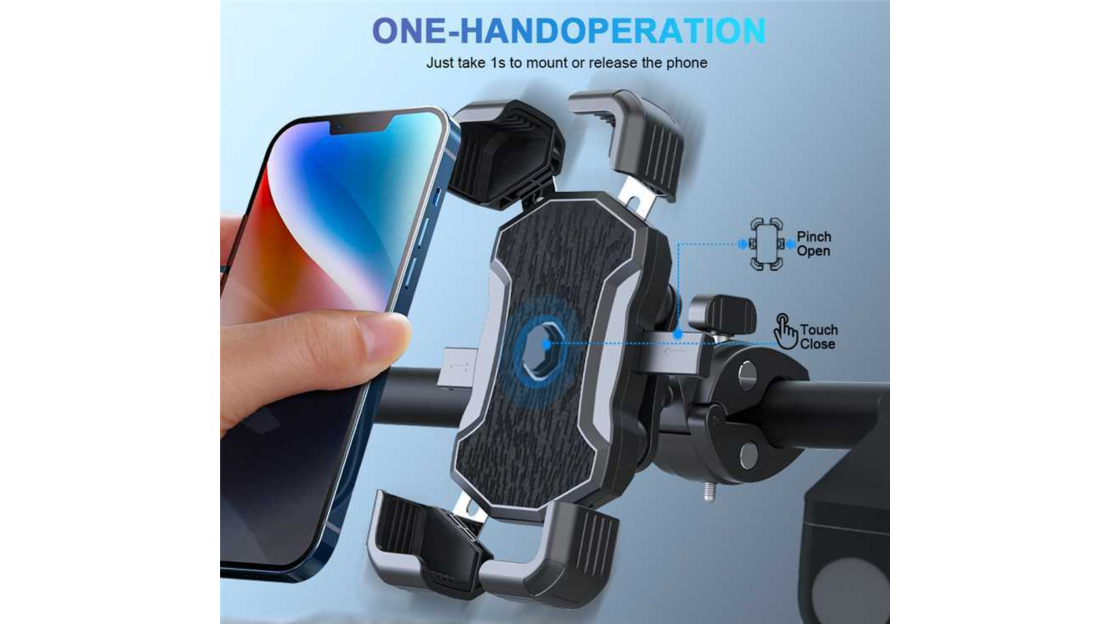
We are a professional manufacturer of car phone mounts – including suction cup mounts, magnetic mounts, vent clips, CD slot mounts, cup holder mounts, and handlebar mounts.
We offer:
✅ Wholesale / bulk pricing
✅ Custom logo printing (OEM / ODM)
✅ Private label packaging
✅ Custom suction cup size (60mm – 120mm)
✅ Dashboard adhesive discs in bulk
📧 Contact us for a quote
📱 WhatsApp / WeChat: [+86-18666430023]
👉 View all our car phone mount products
If you found this guide helpful, please share it with another driver. Safe driving!
 EN
EN